Here I will explain how I went about designing the hubs and wheels for our fire robot.
The first goal was to make the hub and make multiple prints of it. Tweaking it to where it fits just right and the set screws are able to turn threads in the set screw holes.
The first step was to do a simple extrude of the hub with the “double D” shaft in the middle.

Next, I made two holes for set screws to tighten the wheel down to the shaft. I drew the hole off the right datum then extruded it from both sides giving us two set holes.

Once we printed it, we found that it fit perfectly and we were ready to move on to the wheels. For the wheels, we basically started with a 90mm circle and extruded it from the center of the hub.

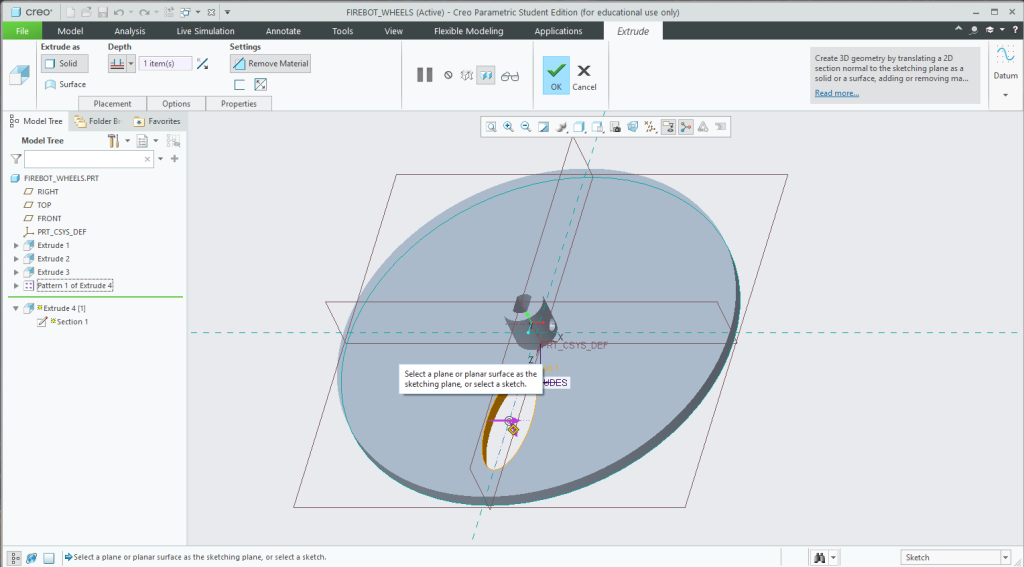
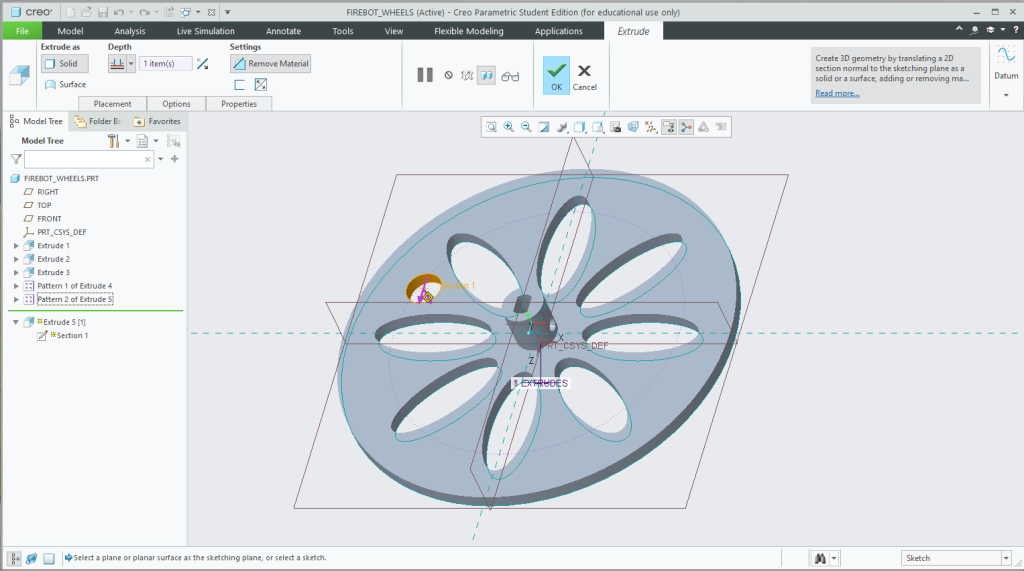
Once we had the base, we started to cut out some material so it wouldn’t take as long to print but also to make it lighter. First, we would draw the basic shape and then pattern that extrude around the center axis.


We repeated the same process again in more dead space.


Next, it was time to print the finished product and test it on the robot.


Printing the wheels Wheels on the robot with rubber bands as tires

Recent Comments