Intro
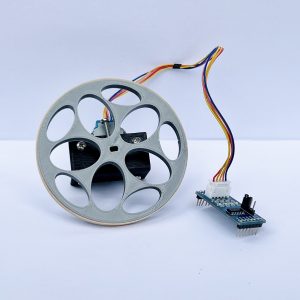
In a previous post, (How to Import and Scale an Image in onShape) I designed an “L bracket” to act as a mount for a stepper motor. In this post, I’ll be explaining the process to print a wheel with a built-in hub for the same motor. The concept wasn’t difficult, but the process took a surprisingly long time.
The Hub

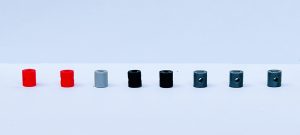
The hub is a cylinder with a keyhole for the motor shaft. Across from each other, there are holes for screws to tighten the hub to the shaft. The hub has a diameter of 9 mm and a height of 10 mm. To save materials and time, the hub was printed separately from the wheel. Sometimes 0.05 millimeters was the difference between too small and a snug fit
Despite its simple geometry, the hub was not printed correctly on the 1st, 2nd, 3rd, or even 4th try. Many factors that contributed to the hub not fitting properly. The initial dimensions in onShape were incorrect; the plastic squashed more than expected, or the printer was not tuned perfectly. To limit errors caused by the printer, you should print the wheel immediately after the hub, on the same printer, and with the same plastic. Sometimes printing with plastic on a different printer (even if they have the same specs) causes mistakes. By printing your wheel immediately after your hub has finished, you avoid the printer becoming less tuned over the course of a day.
The Wheel

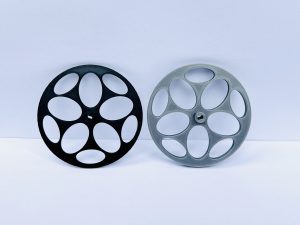
The first version of the wheel is on the lift and the final version is the wheel on the right. Both wheels re 90 mm in diameter. However the wheel on the left is 3 mm tall and the wheel on the left is 3 mm tall. The first wheel fit correctly, but its initial height (3 mm) was too short and the rubber band kept falling off. The holes in the wheel help reduce the amount of material that is needed. The strength of the wheel was not affected by the holes. The wheel Because printing a wheel uses so much plastic, they were not printed until the motor fit perfectly first.
Final Product


Recent Comments