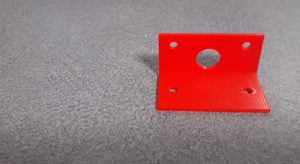
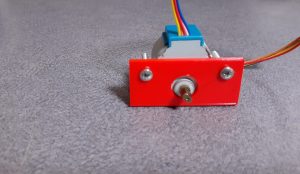
For my first-year engineering class, I had to design and 3D print a mount for a 28BYJ-48 Stepper Motor to be used in the final project. I imported and scaled an image of the schematics into OnShape and used it to design the mount. The image of the motor I used is from Cookie robotics. Here is the link. To import an image into OnShape, you must first begin a sketch. Once in the sketch, click on the dropdown arrow next to insert DXF or DWG and select insert Image.
![]()

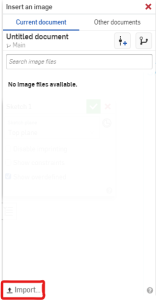
Make sure Insert Image is selected and not Insert DXF or DWG. After selecting Insert image, a new window will open. Click the Import button at the bottom to open up your files.
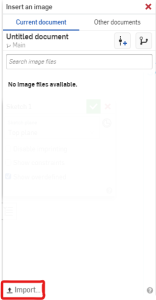
Then select the image you want to be imported into OnShape.
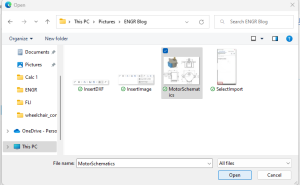
Next, select the Imported file and draw a rectangle of any size.
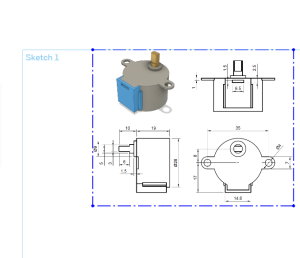
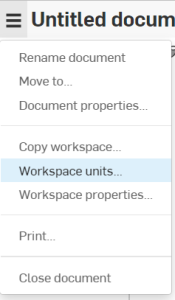
Now that the image has been successfully imported into OnShape, it is time to scale it, so the dimensions on the image are correct. Before doing this, make sure the units in OnShape are correct. Click on the lines next to the document’s name and select workspace units.
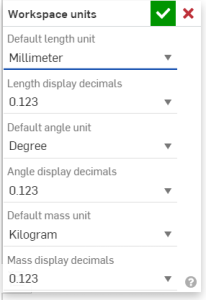
Then make sure the default length unit matches the one in the image, in this case, millimeters.
To do this, draw a line in OnShape and make its dimensions the same as one of the lines on the image. For this project, I am using a line that is 35 mm long. Next, click on the dimension tool and then on one of the edges of the image to begin scaling it. Then use the up and down arrow keys to scale it to match the line. You can position the line over the image to help you match it exactly.
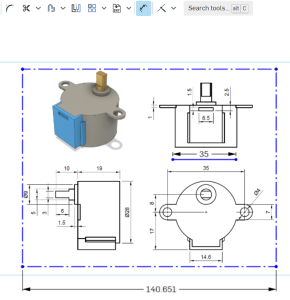
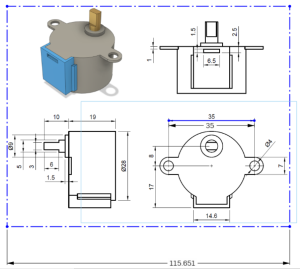
Once the line and the image match up, the image is now properly scaled. After I finished designing the mount, I sliced it using the Prusa Slicer and printed it using these settings:
Printer: Orignial Prusa MINI & MINI+
Filament: Generic PLA
Infill: 10%
Print settings: 0.15mm QUALITY (modified)
Here is the finished print and the motor connected to the mount.
