Drawing Reference:
https://cookierobotics.com/042/
OnShape Design:
https://cad.onshape.com/documents/fd62bb61243a1877caee9b94/w/9f8d99d38493b749aa66e681/e/c3dadab8f5db58bbe1c2cda4?renderMode=0&uiState=635abae2fc832d756aa4a6f6
To Replicate This Process Proceed With These Steps
- Download the “Drawing Reference” picture from the first link listed
- Upload this image into your OnShape studio
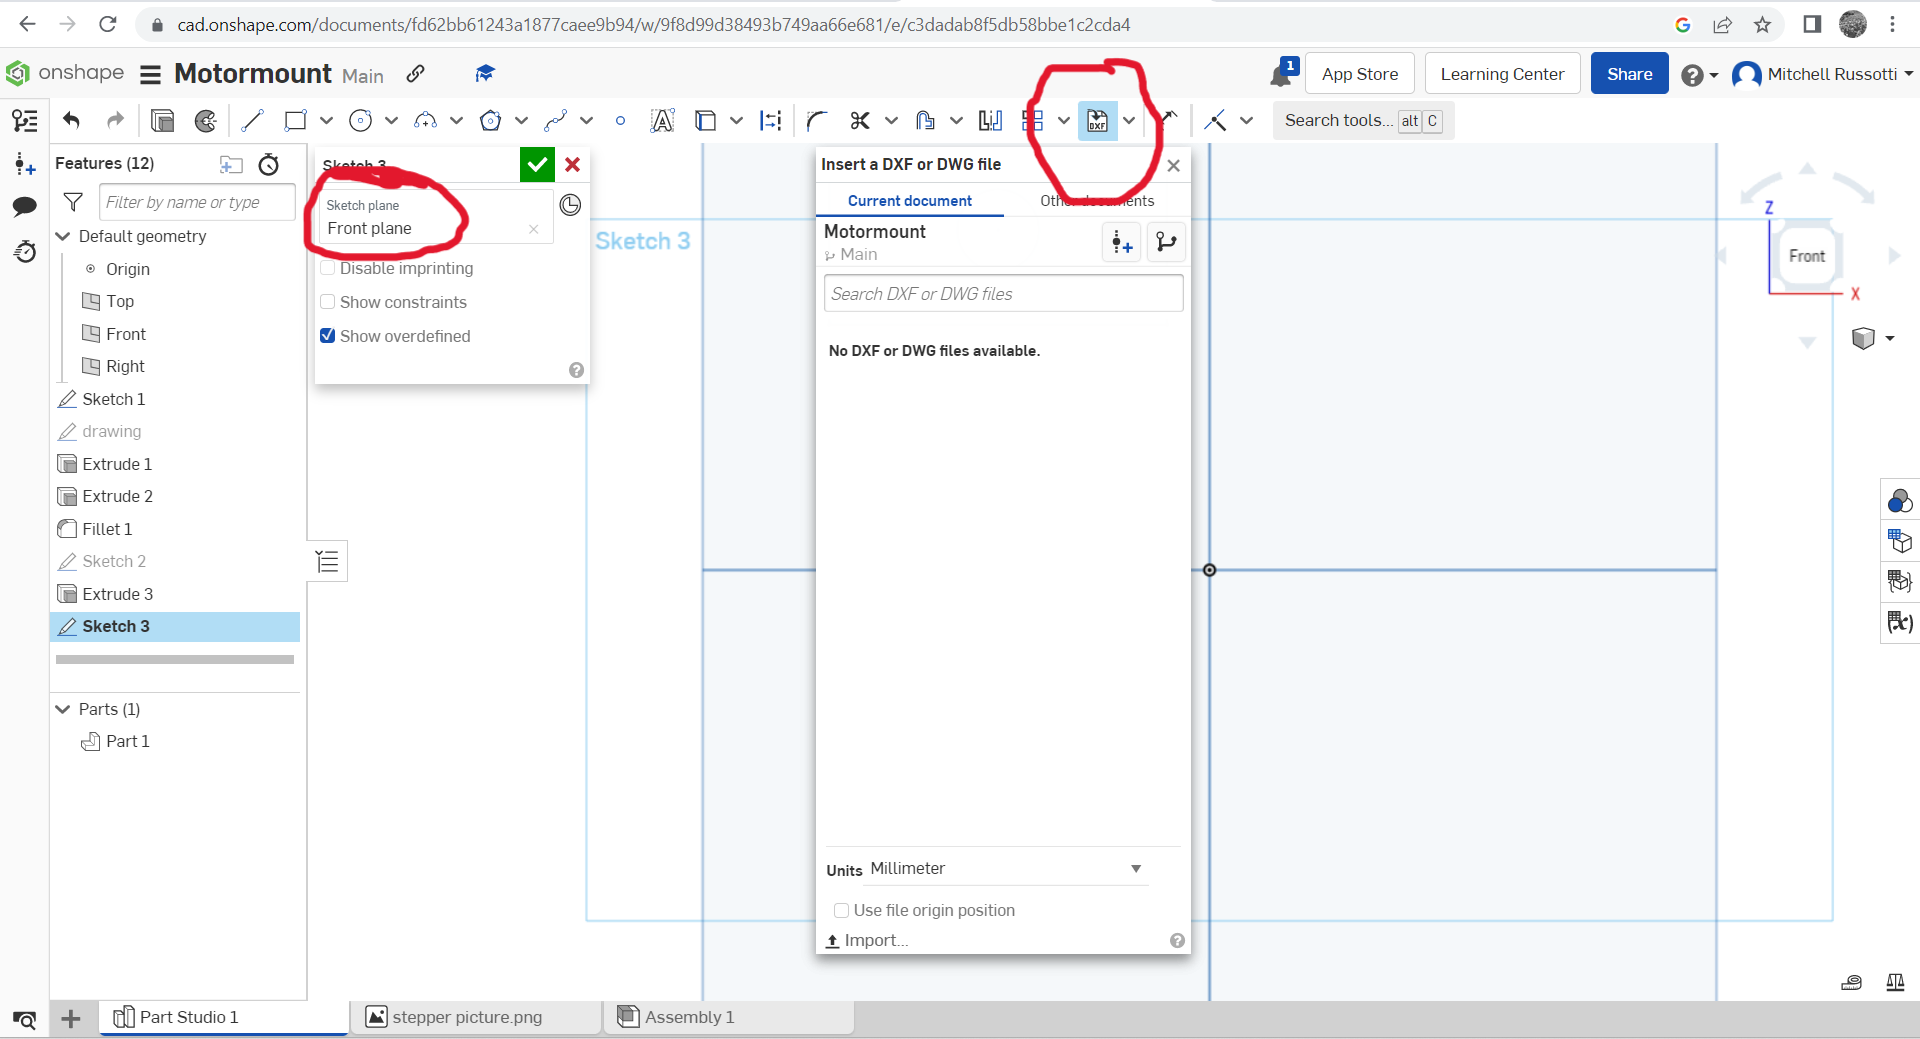
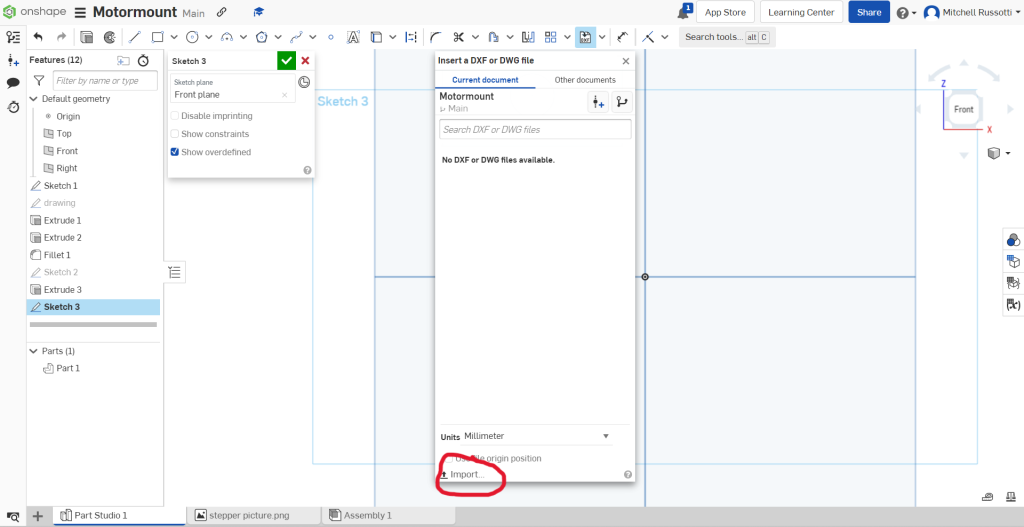
First, create a new sketch, then select the front plane. To upload the photo from your downloads you will find the insert DXF file icon on the right side of your tool bar.


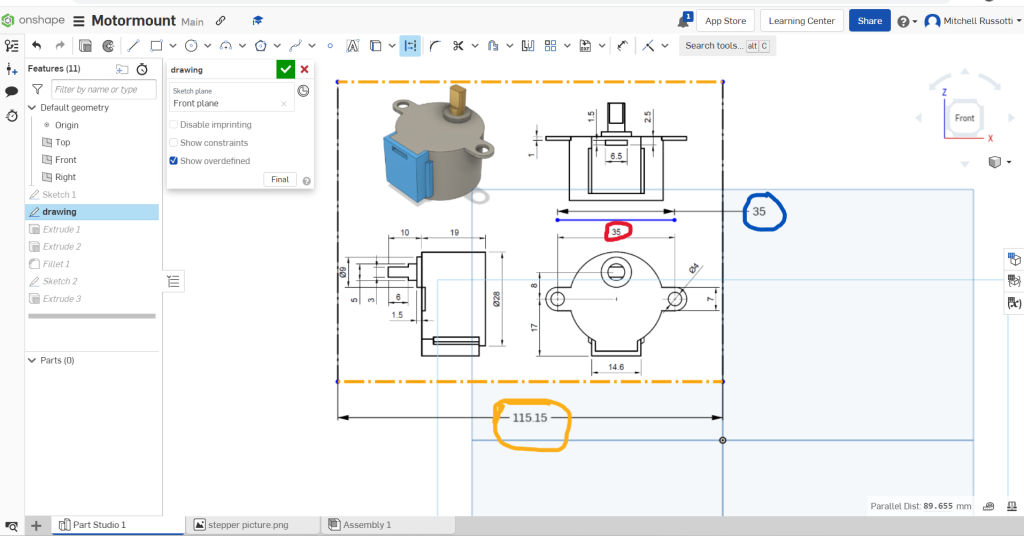
3. After you have uploaded the drawing you must scale it by drawing a line, in the same sketch as the drawing, that is equivalent in value to one of dimensions of a line in the drawing, then optimize the size of your drawing to allow the dimension depicted by the line to match the corresponding dimension in the drawing. The value of your line, marked in blue, should be equal to your selected dimension on the drawing, marked in red, then you should modify the dimensions of your drawing, marked in yellow, to make the distance observed in the blue line appear equal to the distance observed by corresponding line in the drawing.

4. At this point your drawing will be scaled and can be used as a layout to design a motor mount for the stepper motor, an example design of how the drawing can be used to lay out your motor mount is linked at the top of this page.
3D Printing
Using Prusaslicer to print the motor mount
Print Settings: Filament- PLA, Printer- Original Prusa MINI, Infill- 20%, Size in mm

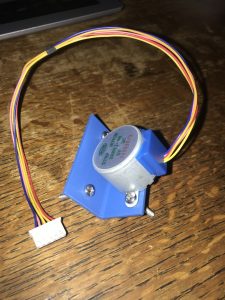
Final Product:


Recent Comments